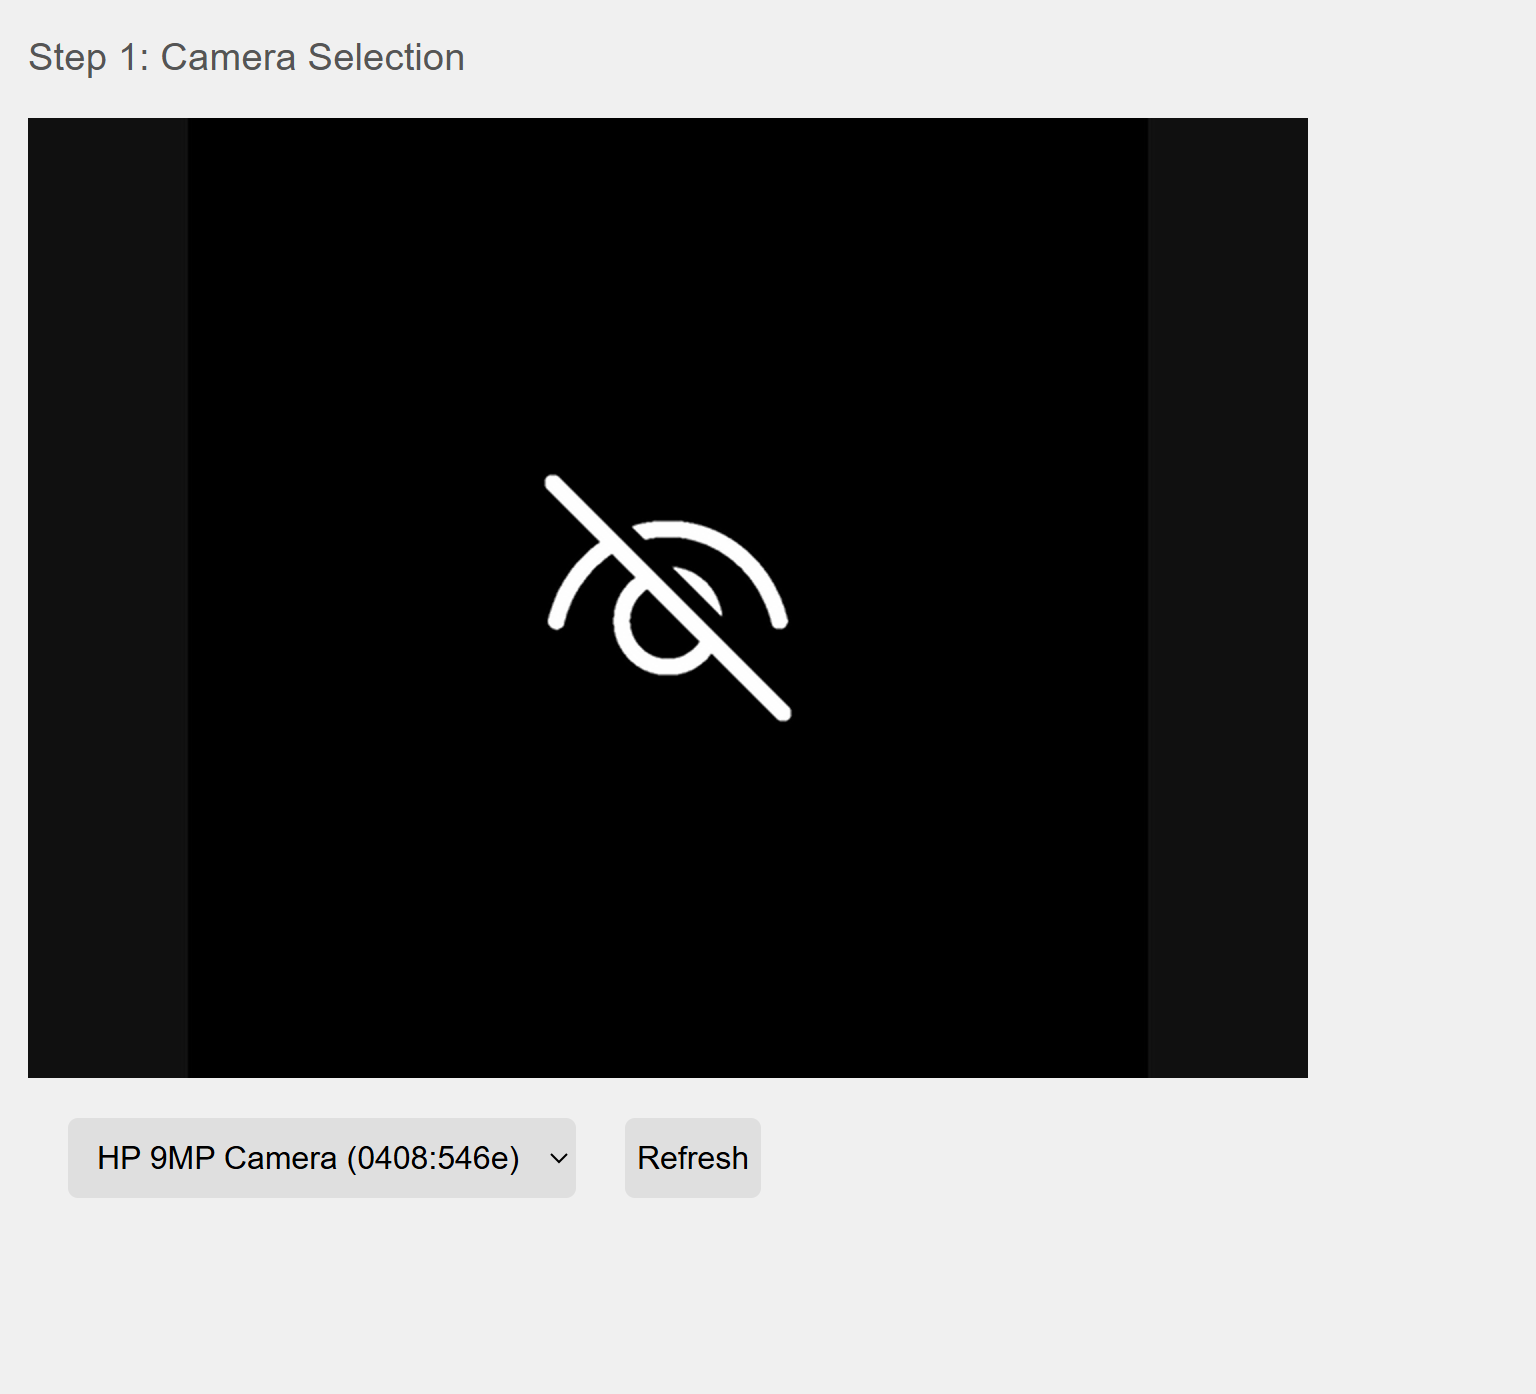
Step 1: Enabling and selecting the camera
1. Allow camera access
When prompted in the browser, click "Allow" to enable the website to use the camera. If the prompt does not appear, check the browser settings and manually enable camera access.
2. Select the correct camera
Use the dropdown menu to select the camera you want to use. If your camera is not listed, click the "Refresh" button to reload the devices.
3. Troubleshooting
If you see the "Camera not available" icon, it means the camera is blocked or not recognized. Make sure the camera is properly connected and not being used by another application. Refresh the page and try again.
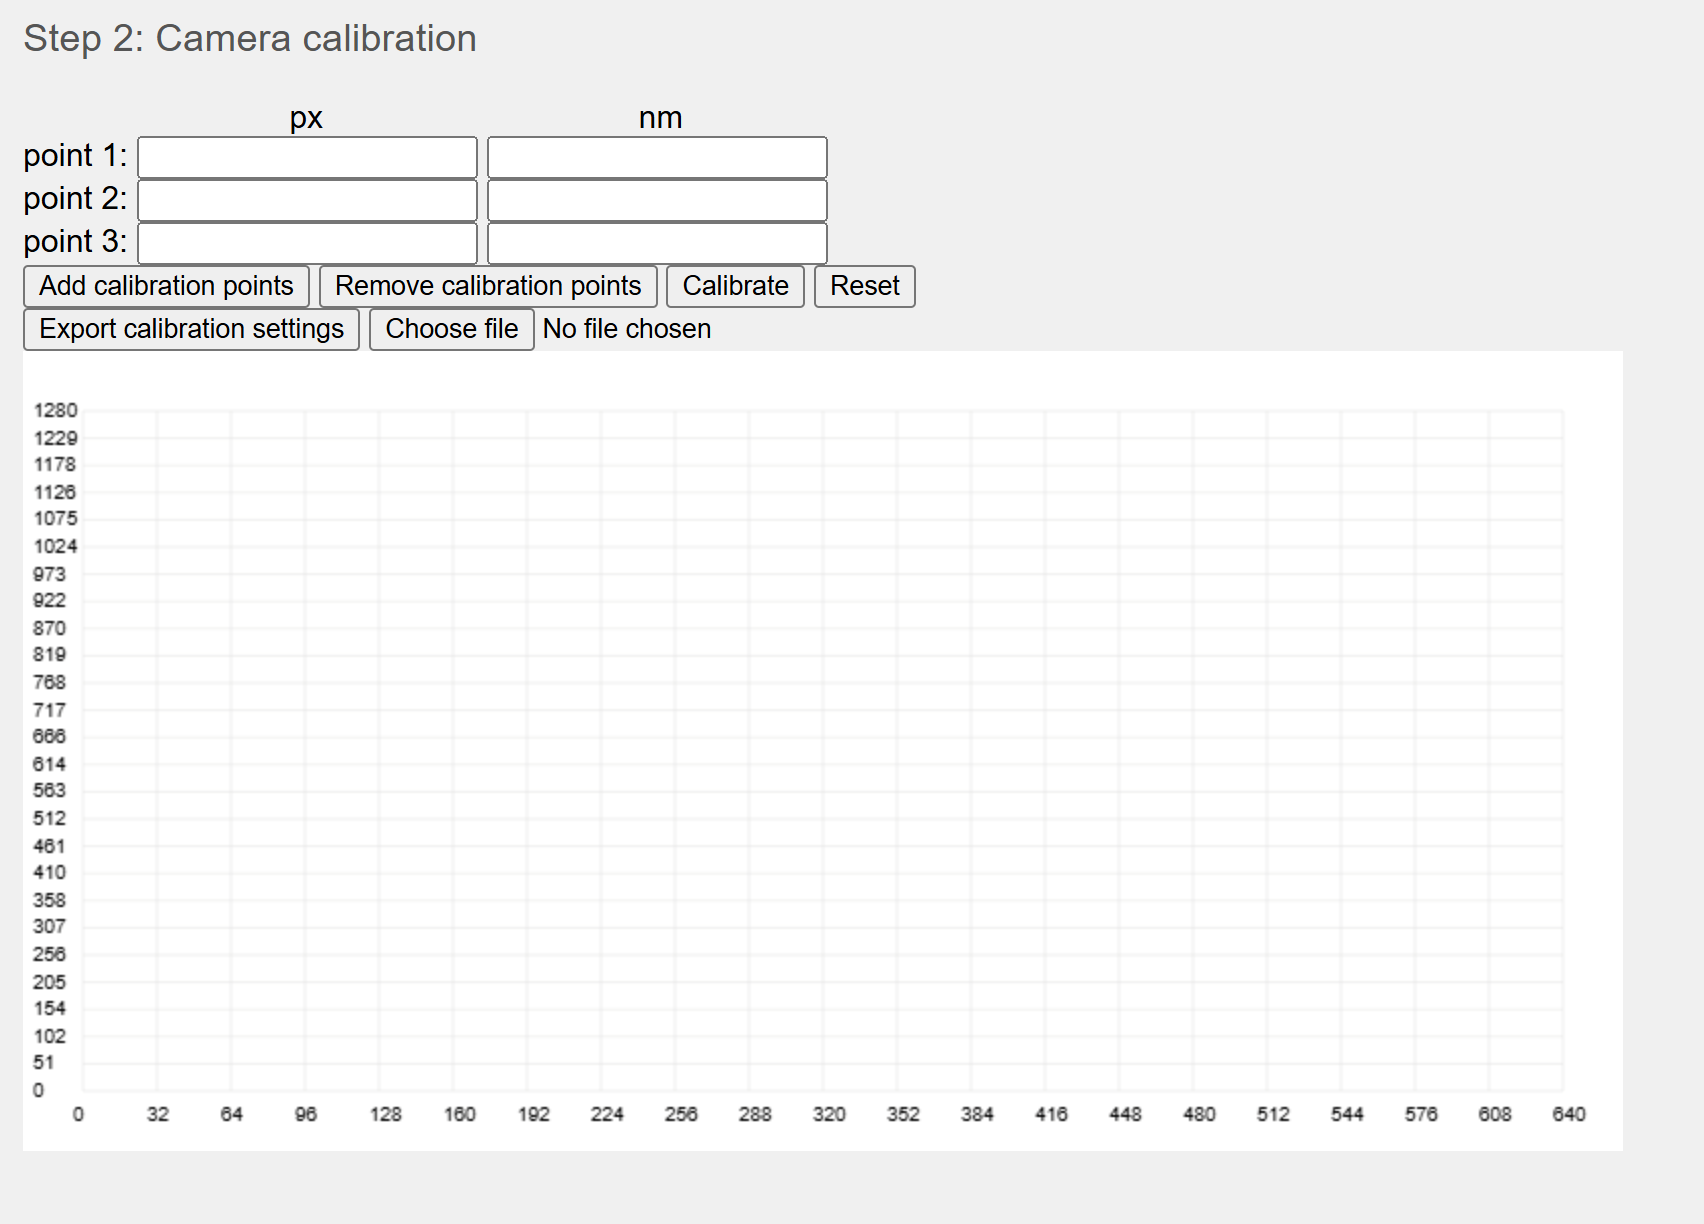
Step 2: Camera calibration
1. Filling out calibration points
If you're a new user, you need to manually enter the calibration points first. If you already have a file with calibration points, you can upload it using the "Choose file" button. Once uploaded, the form will be automatically filled out.
2. Calibrating
Once all points are entered, press the "Calibrate" button. The system will calculate the calibration line and display it in a graph below the form.
3. Saving calibration (OPTIONAL)
To save the calibration points for future use, click the "Export calibration points" button. You can save the file to your device and load it later.
Other important buttons and functions
- /"Add calibration points" – Adds a new pair of calibration points.
- "Remove calibration points" – Removes the last pair of calibration points
- "Reset" – Resets the calibration form
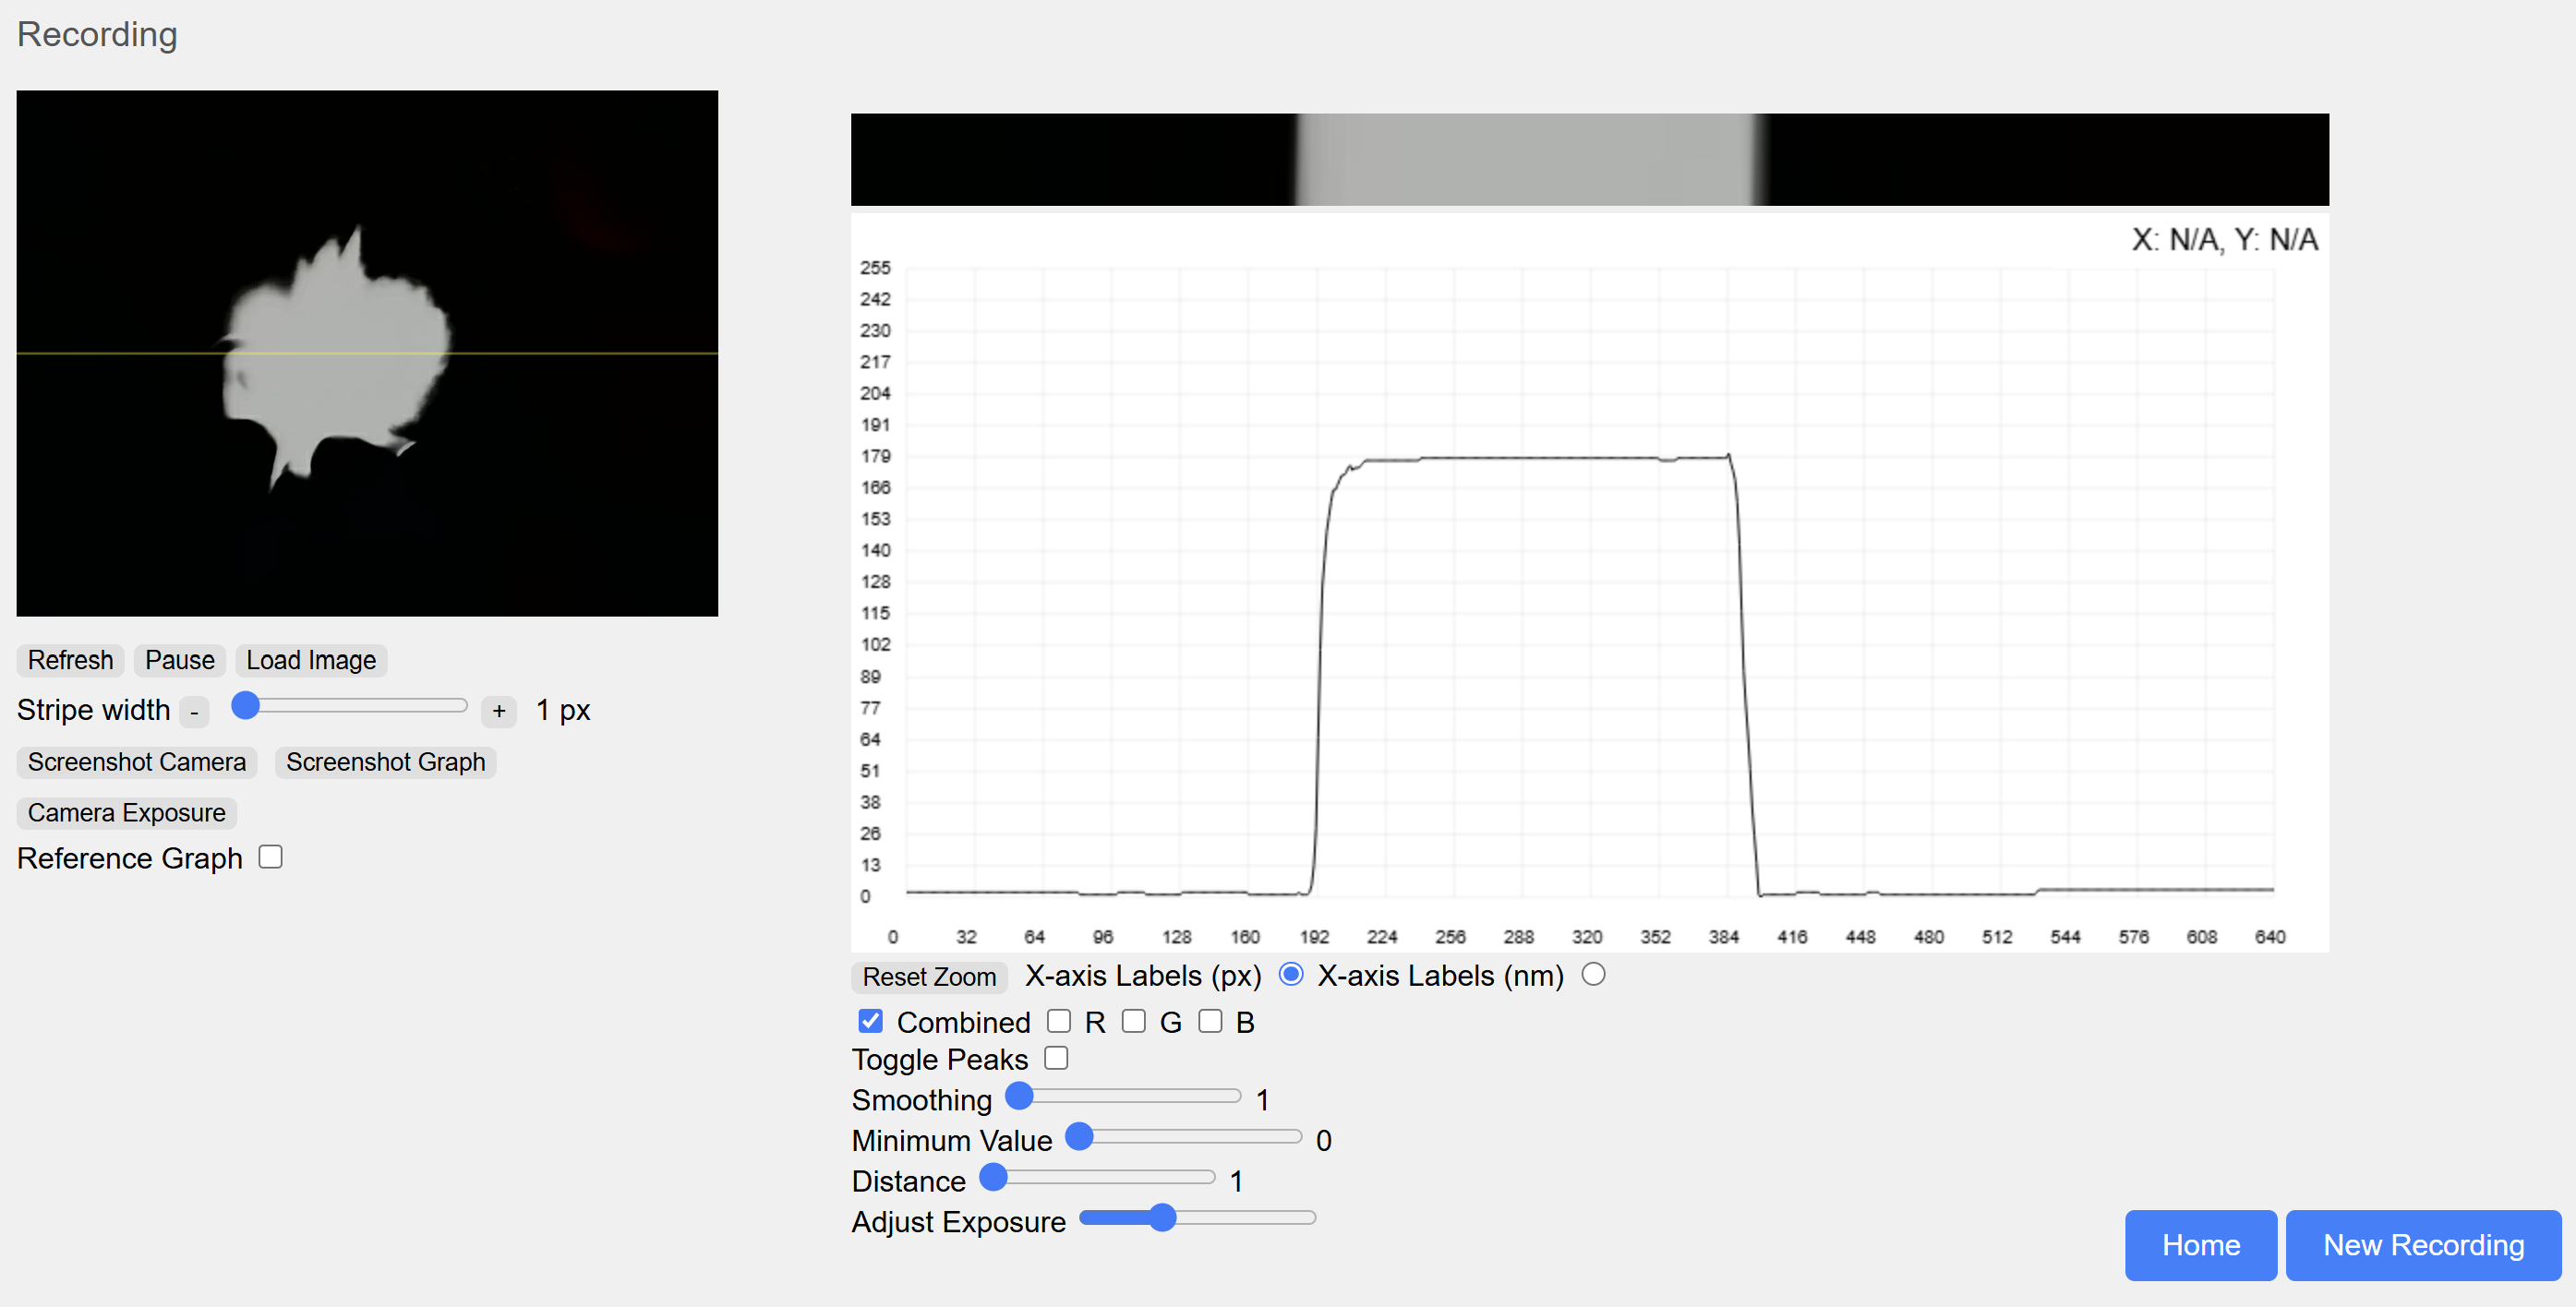
3. Setting the stripe width
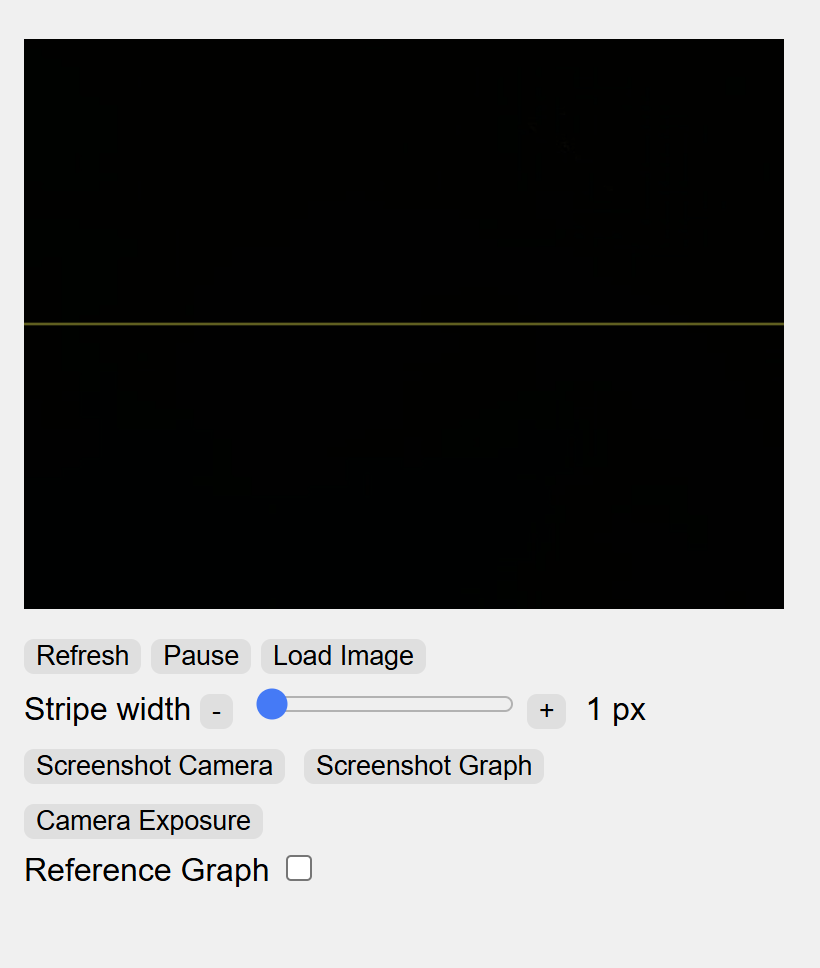
The user can adjust the width of the stripe that will be used for image analysis. The stripe indicates the area from which data will be gathered to create the graph.
How to set the stripe width?
- The stripe width can be changed by sliding the slider left or right.
- You can also increase or decrease the stripe width using the "+" and "-" buttons.
After setting the correct stripe width, this area will be used to generate the final graph.
Other important buttons and functions
- "Refresh" – Refreshes the image from the camera.
- "Load image" – Allows loading an image from the device.
- "Camera screenshot" – Takes a snapshot from the camera.
- "Graph screenshot" – Takes a snapshot from the graph.
- "Camera exposure" – Allows manual adjustment of the camera exposure.
- "Reference graph" – After clicking, two buttons will appear:
- "Add reference" – Adds a reference graph for comparison.
- "Reset reference" – Removes references.
4. Graph
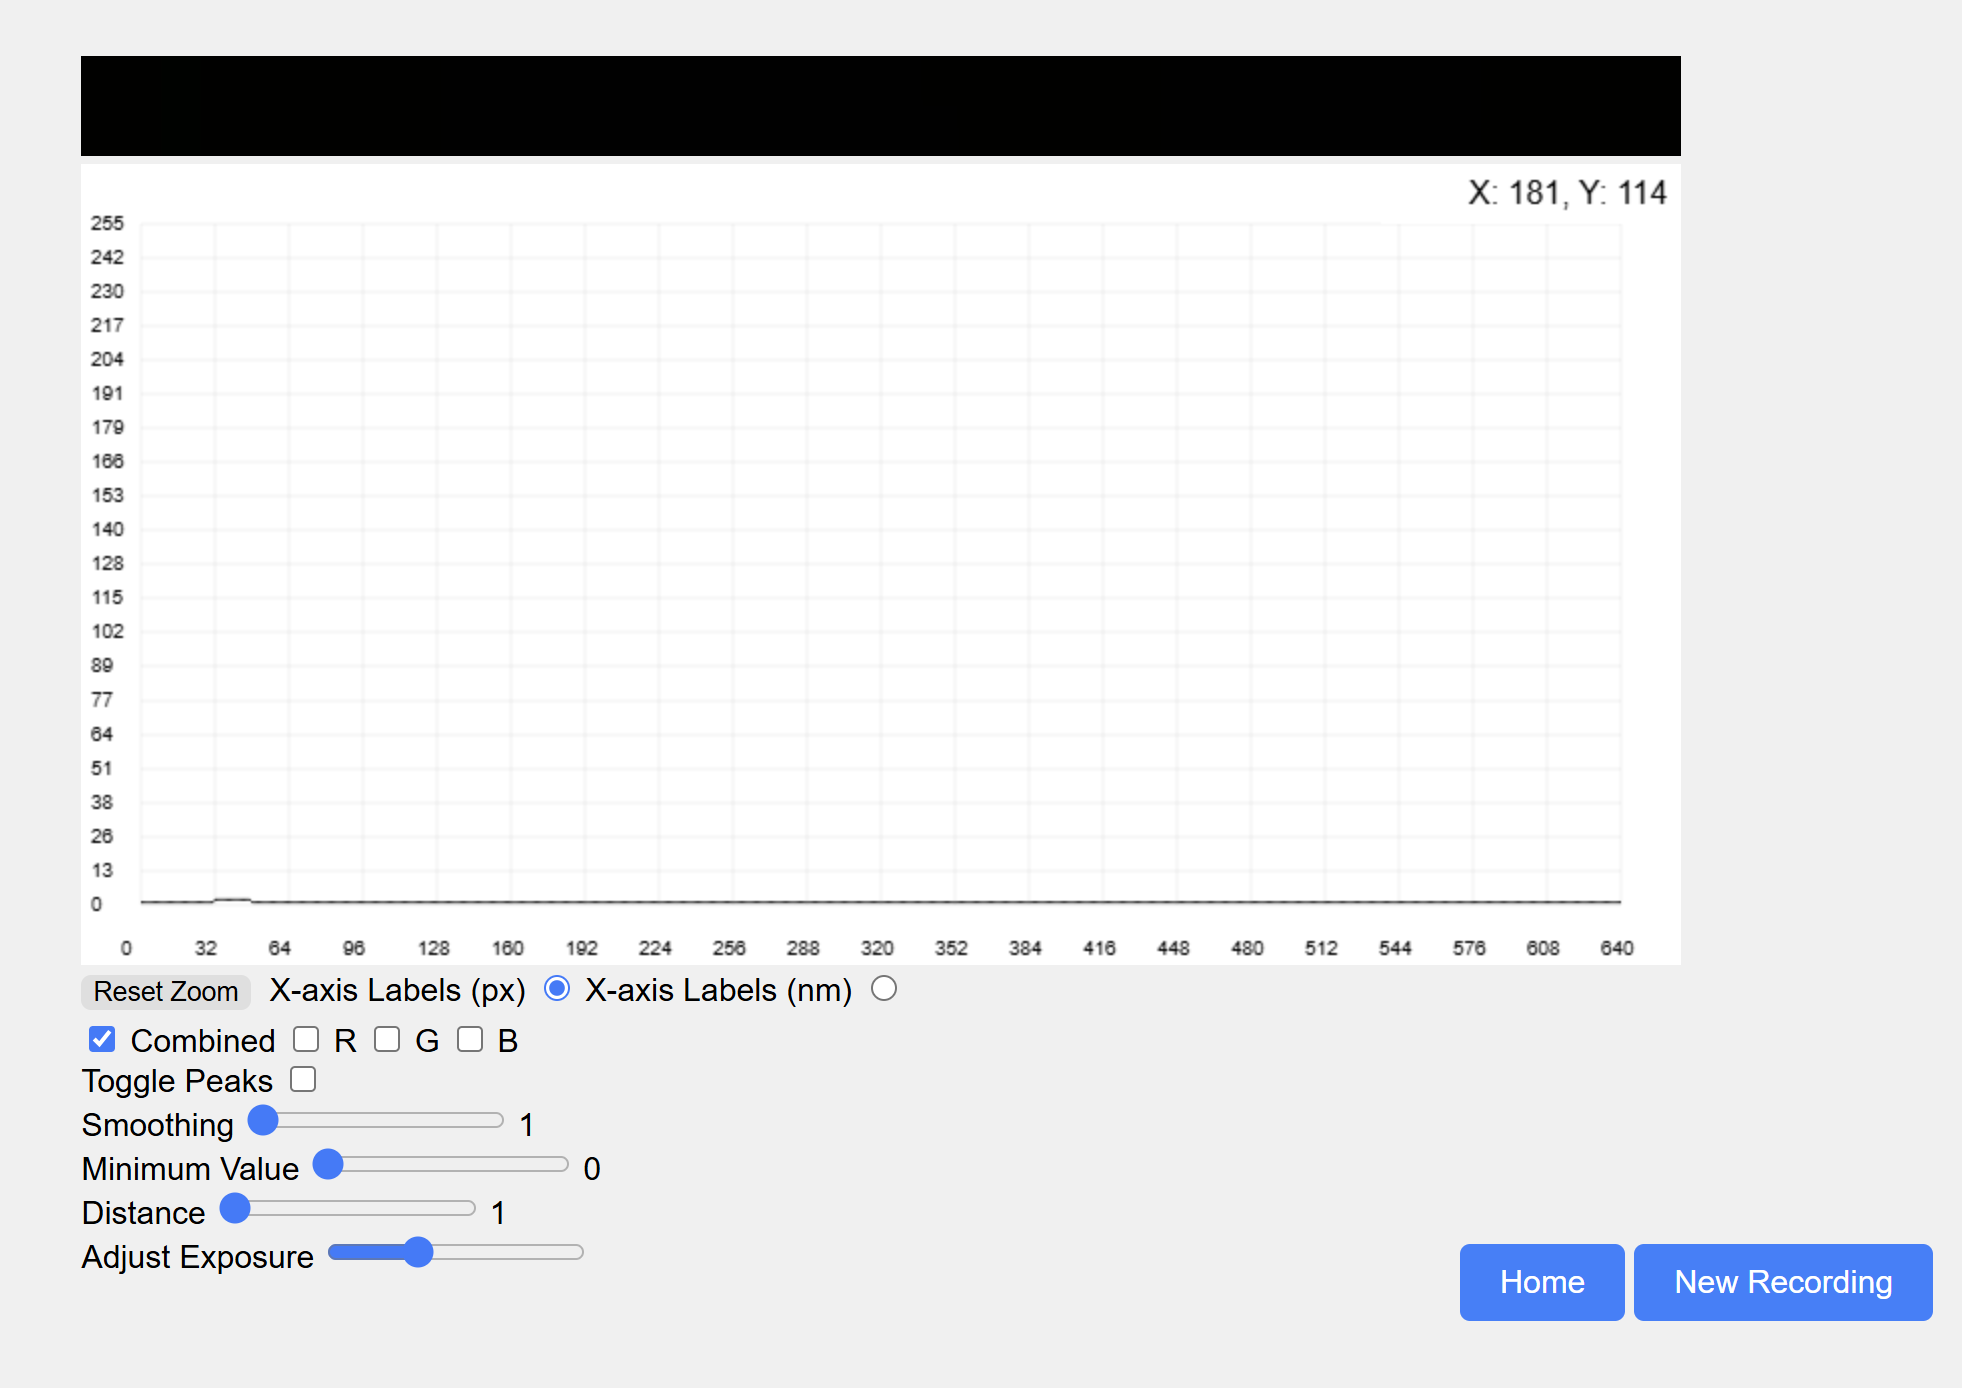
We can zoom into the graph by clicking the mouse and dragging over the part we want to enlarge. The current cursor position in the graph is shown in the top right corner.
Other important buttons
- "Reset zoom" – Returns the graph to its original state after zooming in.
- "X-axis labels (px)" – Changes the X-axis labels to pixels.
- "X-axis labels (nm)" – Changes the X-axis labels to nanometers.
- "Combined" – Displays RGB components of light together.
- "R" – Displays the red component of light.
- "G" – Displays the green component of light.
- "B" – Displays the blue component of light.
- "Toggle Peaks" – Highlights the highest parts of the graph.
- "Minimum value" – Sets the minimum signal value on the graph.
- "Set exposure" – Allows manual adjustment of the camera exposure.